All About Wet Rooms: a smart, compact guide

All About Wet Rooms: a smart, compact guide

Thinking of a wet room? Here’s a short, no-nonsense overview that answers the most searched questions and avoids overcomplication.

What is a wet room?

A wet room is a fully waterproofed bathroom where the shower is level with the floor (no step). The whole floor is tanked and laid to fall toward a linear or point drain. It’s different from a standard bathroom with a shower tray or tub.

Wet room vs bathroom (quick compare)

A wet room delivers a seamless, level-access floor and a visually larger, contemporary space – excellent for small rooms and accessibility. However, it succeeds only with full‐room waterproofing (tanking), accurate floor falls to a linear or point drain, robust ventilation, and – on timber floors – appropriate structural stiffening and acoustic treatment. Any compromise here increases the risk of moisture migration, mould, and costly remediation.

A traditional bathroom with a shower tray is typically more economical, faster to install, and better at containing water. If the goal is step-free entry without waterproofing the entire room, a level-access (flush) tray offers the barrier-free feel with a smaller scope of work and lower risk.

My professional guidance: choose a wet room when you are prepared to invest in high-spec tanking and detailing; choose a tray solution when budget, programme, and maintenance simplicity are the priority.

white bath near window with marble floor

Wet room cost & size

How much does a wet room cost?

Usually, the cost of a wet room is 20–50% higher than a like-for-like shower-tray bathroom. The uplift comes from full-room waterproofing (tanking), subfloor preparation to create falls, and higher-spec drainage/ventilation. Labor is also more specialized, which adds to the price.

What really drives the cost of a wet room

The price of a wet room isn’t just about “nice tiles and a fancy drain”. Most of the cost sits in the hidden work that makes the room watertight and safe for the long term.

  1. Full-room tanking
    Proper waterproofing is the single biggest cost driver. You’re not paying for one quick coat of paint, but for a whole system: membranes, corner tapes, pipe collars, sealed penetrations and, ideally, a water-tightness test before any tile goes down. This is the layer that prevents leaks inside walls and floors – and the future repair bills that come with them.
  2. Subfloor and falls
    To make the floor drain correctly, it has to be recessed or carefully shaped towards a linear or point drain. That can mean levelling compounds, pre-formed trays or custom falls in the screed. On timber floors, there may also be joist stiffening so the structure doesn’t flex and crack the tiles over time.
  3. Drainage package
    A wet room lives or dies by its drain. A good drainage kit includes a quality trap and grate with enough flow for your shower head (especially for large rainfall heads) and simple, tool-free access for cleaning out hair and soap build-up. Go too cheap here and you invite slow drainage and overflows.
  4. Finishes and safety underfoot
    Because the whole floor gets wet, you need slip-resistant finishes: tiles with an appropriate R-rating (e.g. R10/R11) or specialist wet-room vinyl. On top of that come wet-zone grout, flexible adhesives and quality silicone. These details affect not just how the room looks, but how safe it feels and how long it lasts.
  5. Ventilation and dry-out
    A wet room must be able to dry quickly between uses. That usually means a decent extractor fan on a humidity sensor or timer, and very often underfloor heating to warm the floor and speed up evaporation. It’s an extra line on the quote, but it pays off in less condensation, less mould and happier surfaces.

How big does a wet room need to be?

For a truly usable layout, think in two tiers: a compact “works-in-any-small-space” minimum, and a comfortable everyday size that gives you room to move, control spray, and keep a dry step-out zone.

  • Minimum (compact shower zone): ~1.2–1.5 m² for the wet area itself – enough space to stand comfortably, form proper floor falls, and keep water where it belongs.
  • Comfortable room: from 2.5–3 m²+ – easier spray control, room for a vanity/WC, and a dry step-out so the doorway stays clear.

In short: From ~1.2–1.5 m² for a tight shower zone; comfort starts at 2.5–3 m²+. Plan for 1.5–2% floor falls to the drain.

built-in washing machine in white bathroom

Technical must-haves

Even the most beautiful wet room will disappoint if a few basics are missed. These are the details that quietly make everything work.

Floor falls
The floor needs a gentle, consistent slope towards the drain – around 1.5–2%. In practice that means: approximately 1.5–2 cm of slope per meter. The simplest way to achieve this is a single-plane fall into a linear drain set against the wall, rather than trying to “dish” the whole floor.

Splash control
Water will go wherever you let it. Aim for a shower zone at least 900–1000 mm deep, so the spray stays in its area. If the room is tight, add a fixed glass screen panel: it keeps water away from the door without slicing the space visually in half.

Door / threshold detail
At the room entrance, plan a discreet water stop: a slim profile, a tiny upstand or a subtle change in level. looks minimalist, but this is exactly what prevents water from quietly leaking into the hallway.

Ventilation
The smaller the room, the more seriously you need to take extraction. Specify a decent fan with a humidity sensor or timer, so it keeps running after you leave. This helps the room dry quickly, protects grout and paint, and ultimately reduces the risk of mold and musty odors.

Building on different floors

Can you put a wet room on a wooden floor?

Yes – you can, but only if the structure is treated seriously from the start. Timber floors move a little over time; water doesn’t forgive movement. That’s why a wet room on joists is as much about engineering as it is about design.

Why a timber floor can be an advantage

  • It’s easier to run and reroute services (waste pipes, water supplies, heating cables) through joists than through solid concrete.
  • Timber floors are lighter and quicker to alter, which helps on upper storeys or in older houses.
  • You can recess a pre-formed shower former into the floor for a clean, step-free entry.
  • Future repairs and upgrades are often simpler, because you may have access to the structure from below (for example, from the ceiling of the room underneath).

The challenges you have to allow for

  • Any flex in the floor can crack grout, loosen tiles and eventually break the waterproof membrane.
  • Joists often need stiffening (sister joists, noggins, thicker subfloor), which adds cost and time but is non-negotiable for a long-lasting result.
  • Noise transmission is higher: footsteps and water impact can be heard more clearly in the rooms below, especially bedrooms.
  • It’s more delicate to create correct falls to the drain without ending up with a noticeable lip at the door.
  • In some cases, insurers or building inspectors will ask for extra protection if the wet room is above a kitchen or electrical room – for example, leak detection or secondary containment.

Done properly, a wet room on a wooden floor can be just as durable and comfortable as one on concrete. The key is to design it like a small piece of structural engineering, not just “tiles over boards”.

white beige bathroom with shower cabin

Can you put a wet room on a concrete floor?

Yes – and in many ways, a wet room over concrete is the easiest and most forgiving option. But it still lives or dies on the quality of the detailing.

Why concrete is a strong base for a wet room

A concrete slab gives you a rigid, stable substrate, so you’re far less likely to see movement-related issues such as cracked grout lines or loose tiles. It’s also straightforward to create the necessary falls: you can form them in a new screed or use a pre-sloped former, often with a single-plane slope to a linear drain set neatly along the wall.

Concrete performs better acoustically than timber too – you’ll generally get less footfall and water impact noise in the rooms below. And as a bonus, it’s an ideal base for underfloor heating, which makes the space more comfortable and helps the floor dry quickly between showers.

The details you still need to get right

Concrete isn’t a free pass. There are a few technical points that need attention:

  • The build-up of layers – screed, waterproofing, adhesive, tile – can increase floor height and create a step at the doorway if it’s not planned in from the start.
  • Cutting channels for new waste runs or trying to move the drain means chasing or coring into the slab. On reinforced or post-tensioned concrete, that can risk hitting rebar or tension cables, so it should only be done with engineering approval.
  • New slabs, basements and slab-on-grade floors can hold residual moisture. You’ll need a proper damp-proof membrane or vapour barrier and moisture testing (RH/CM) before you commit to finishes.
  • Any structural movement or expansion joints in the slab must be carried through into the tile layout. If they’re ignored, you’re inviting reflective cracking later.

With those points covered, a concrete floor gives you one of the best possible starting points for a wet room: solid, quiet underfoot and very compatible with modern heating and drainage systems.

Which floor in a wet room is preferable?

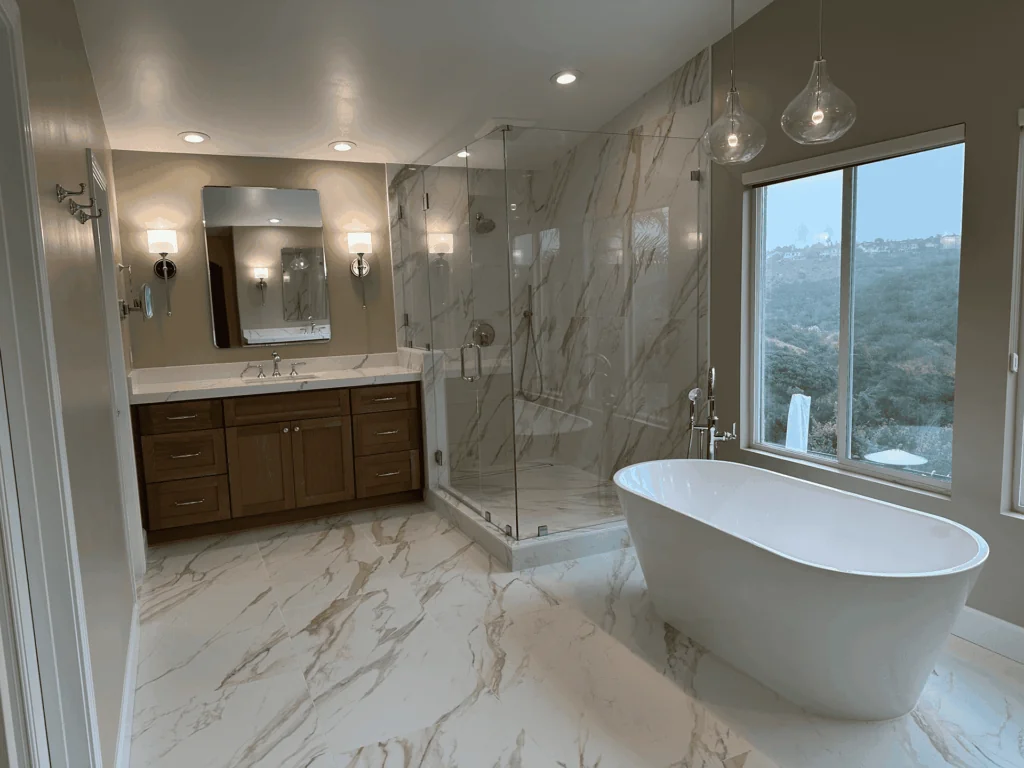
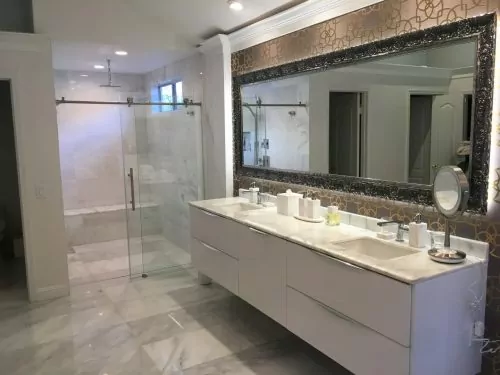
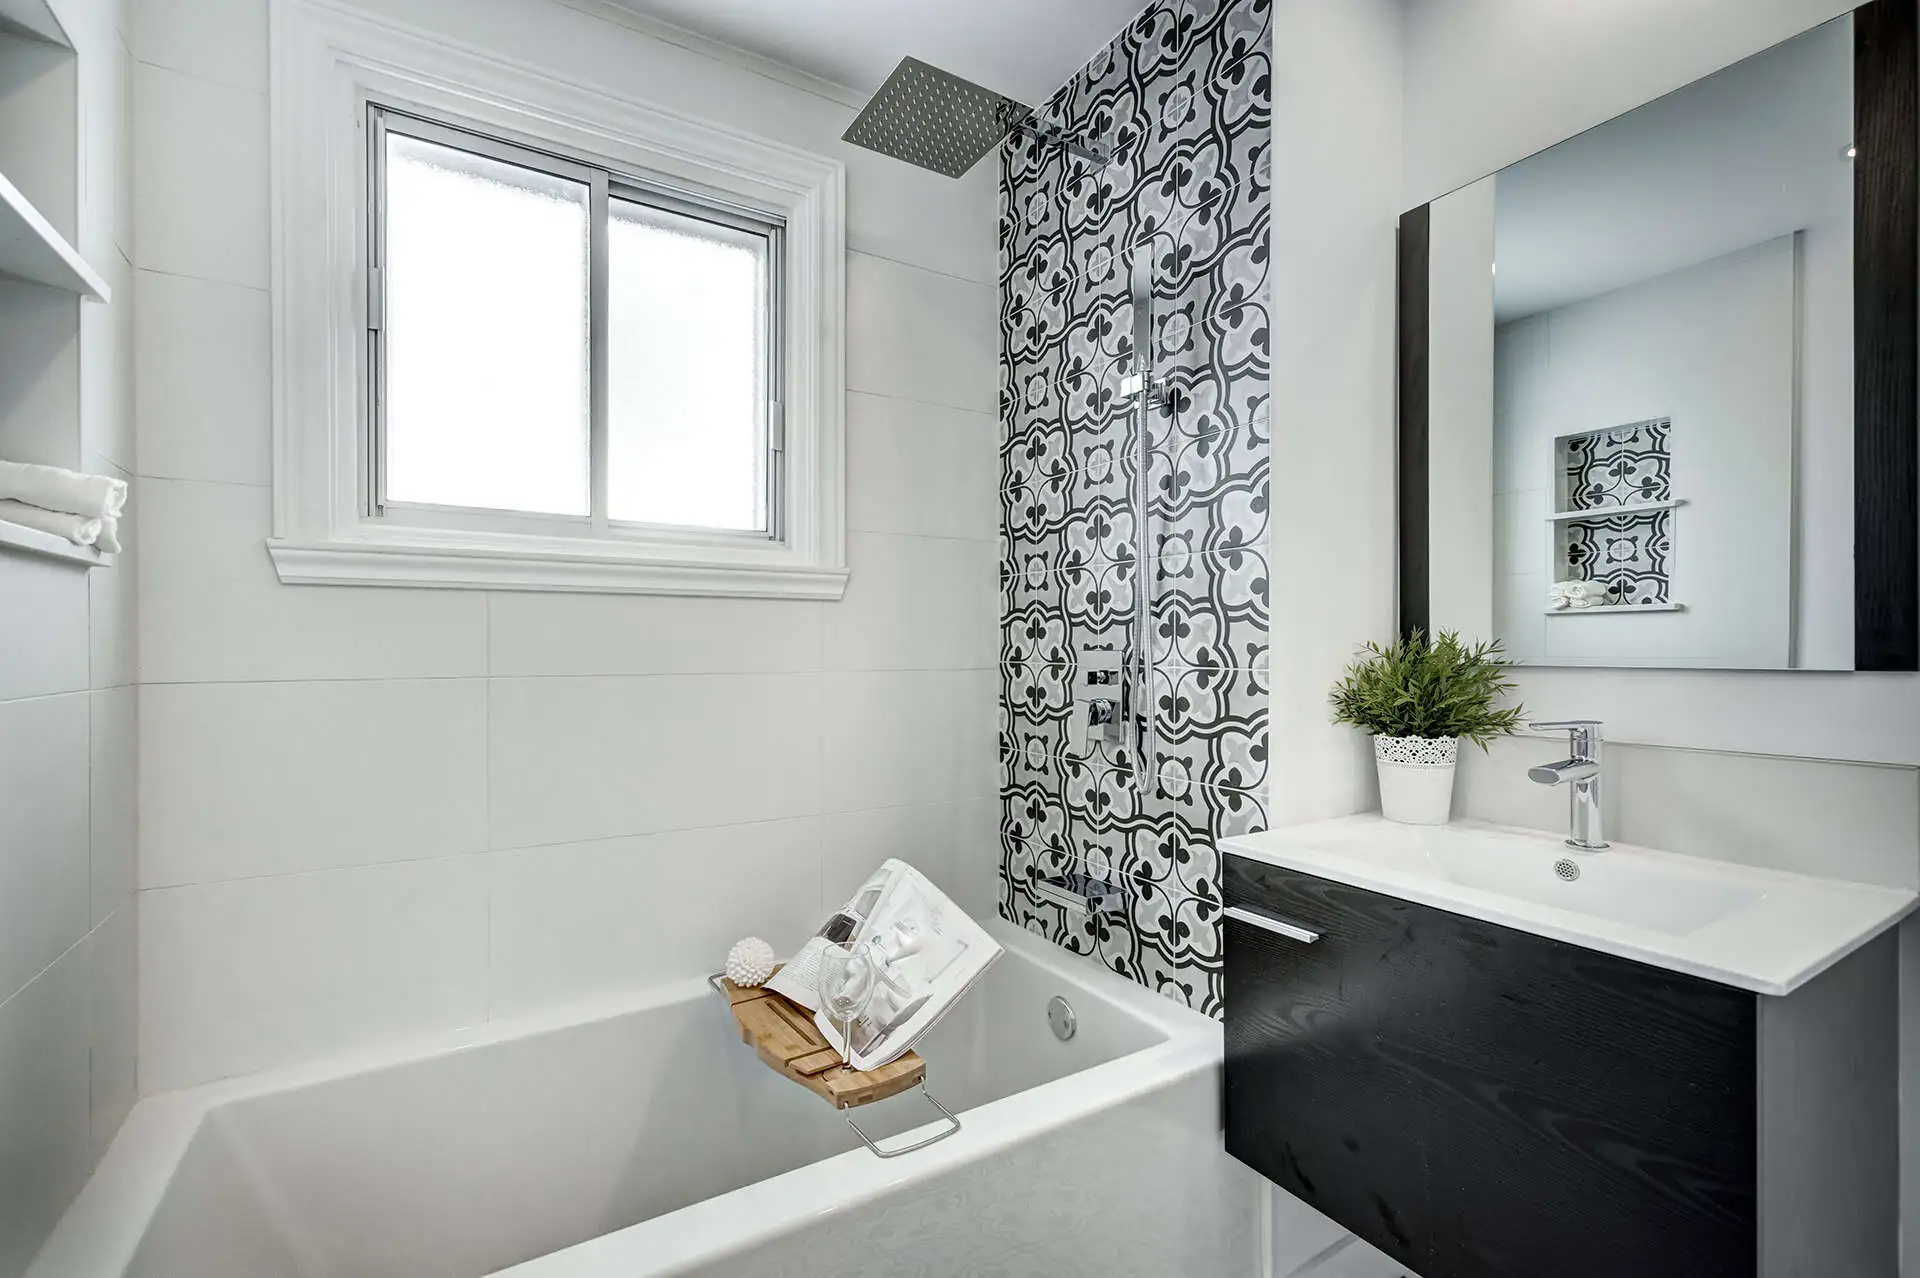
If you’re choosing a floor for a wet room, the safest, most hassle-free recipe is simple: a solid concrete base finished with slip-resistant tile (R10/R11) or seamless wet-room vinyl. Concrete is rigid, so the surface doesn’t flex – meaning fewer cracks and easier, consistent 1.5–2% falls to the drain. Tile gives durability and a “timeless” look; vinyl feels warmer underfoot, is seamless, and is friendly for children and older users.

Small details make a big difference: with a linear drain at the wall, large-format tiles work well – you get one clean plane and minimal cuts. With a central point drain, choose mosaic tiles; the small pieces follow multi-plane falls more easily. Consider underfloor heating to speed surface dry-out, and epoxy grout to resist staining and darkening from water.

Where wet rooms are a bad idea (or need strict safeguards)

Speaking from hard-won experience: a wet room is only as good as its detailing. There are places where I either push back or insist on belt-and-braces protection.

Where not to put a wet room

  • Directly over bedrooms.
    Without upgraded waterproofing and acoustic layers, you’ll hear every shower and risk costly repairs if a seal fails. If you must do it, I specify double tanking, sound-deadening underlayment, and leak detection.
  • Above kitchens or electrical rooms.
    Water and electrics don’t mix. Don’t sign this off without secondary containment (emergency pan/threshold), a floor drain where code allows, leak sensors with auto-shutoff, and documented approvals.
  • Historic homes or light timber structures.
    Old joists and flexible decks hate point loads and constant moisture. You need a structural check for tile weight and formed falls, plus a decoupling layer. If the floor can’t be stiffened, choose a level-access tray instead.
  • Upper floors in general.
    Are wet rooms a good idea upstairs? Only when you’re willing to invest in robust tanking, proper acoustic build-up, and active leak detection. Otherwise, a flush (level-access) shower tray gives you the step-free look with far less risk.

Rule of thumb: if you can’t guarantee a rigid substrate, continuous waterproofing, reliable drainage, and strong ventilation, don’t force a full wet room – use a tray solution and sleep better.

Benefits vs disadvantages

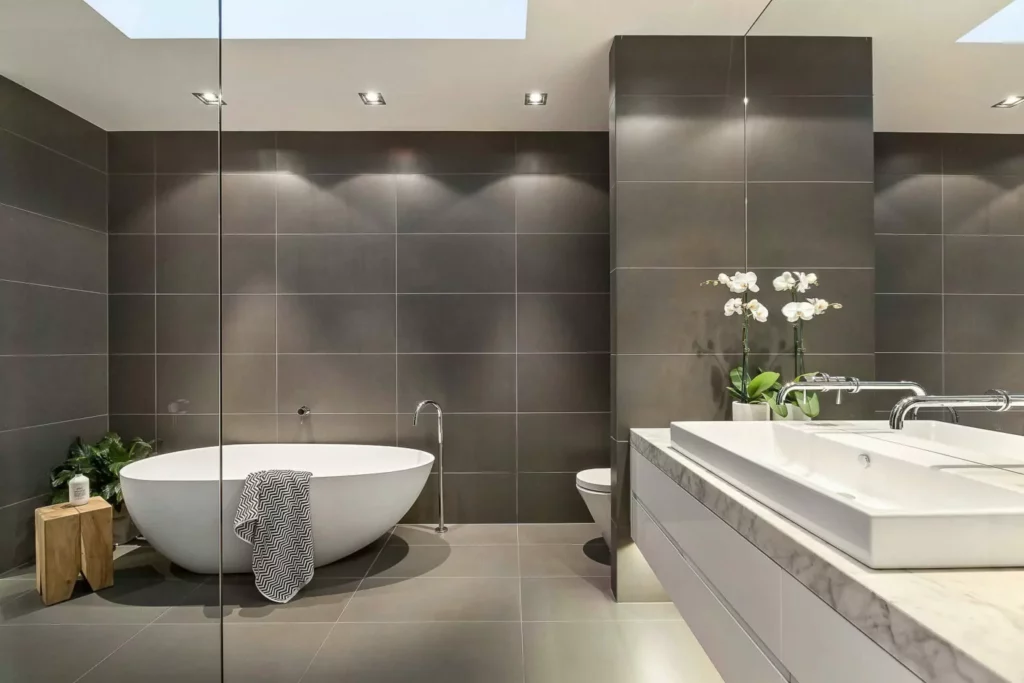
Benefits of Wet Rooms

Safety
With a wet room, the floor stays on one continuous level, so you walk straight in without stepping over a tray or lip. That reduces trip hazards for children, guests and anyone with reduced mobility, and makes the space easier to use as you or your family age.
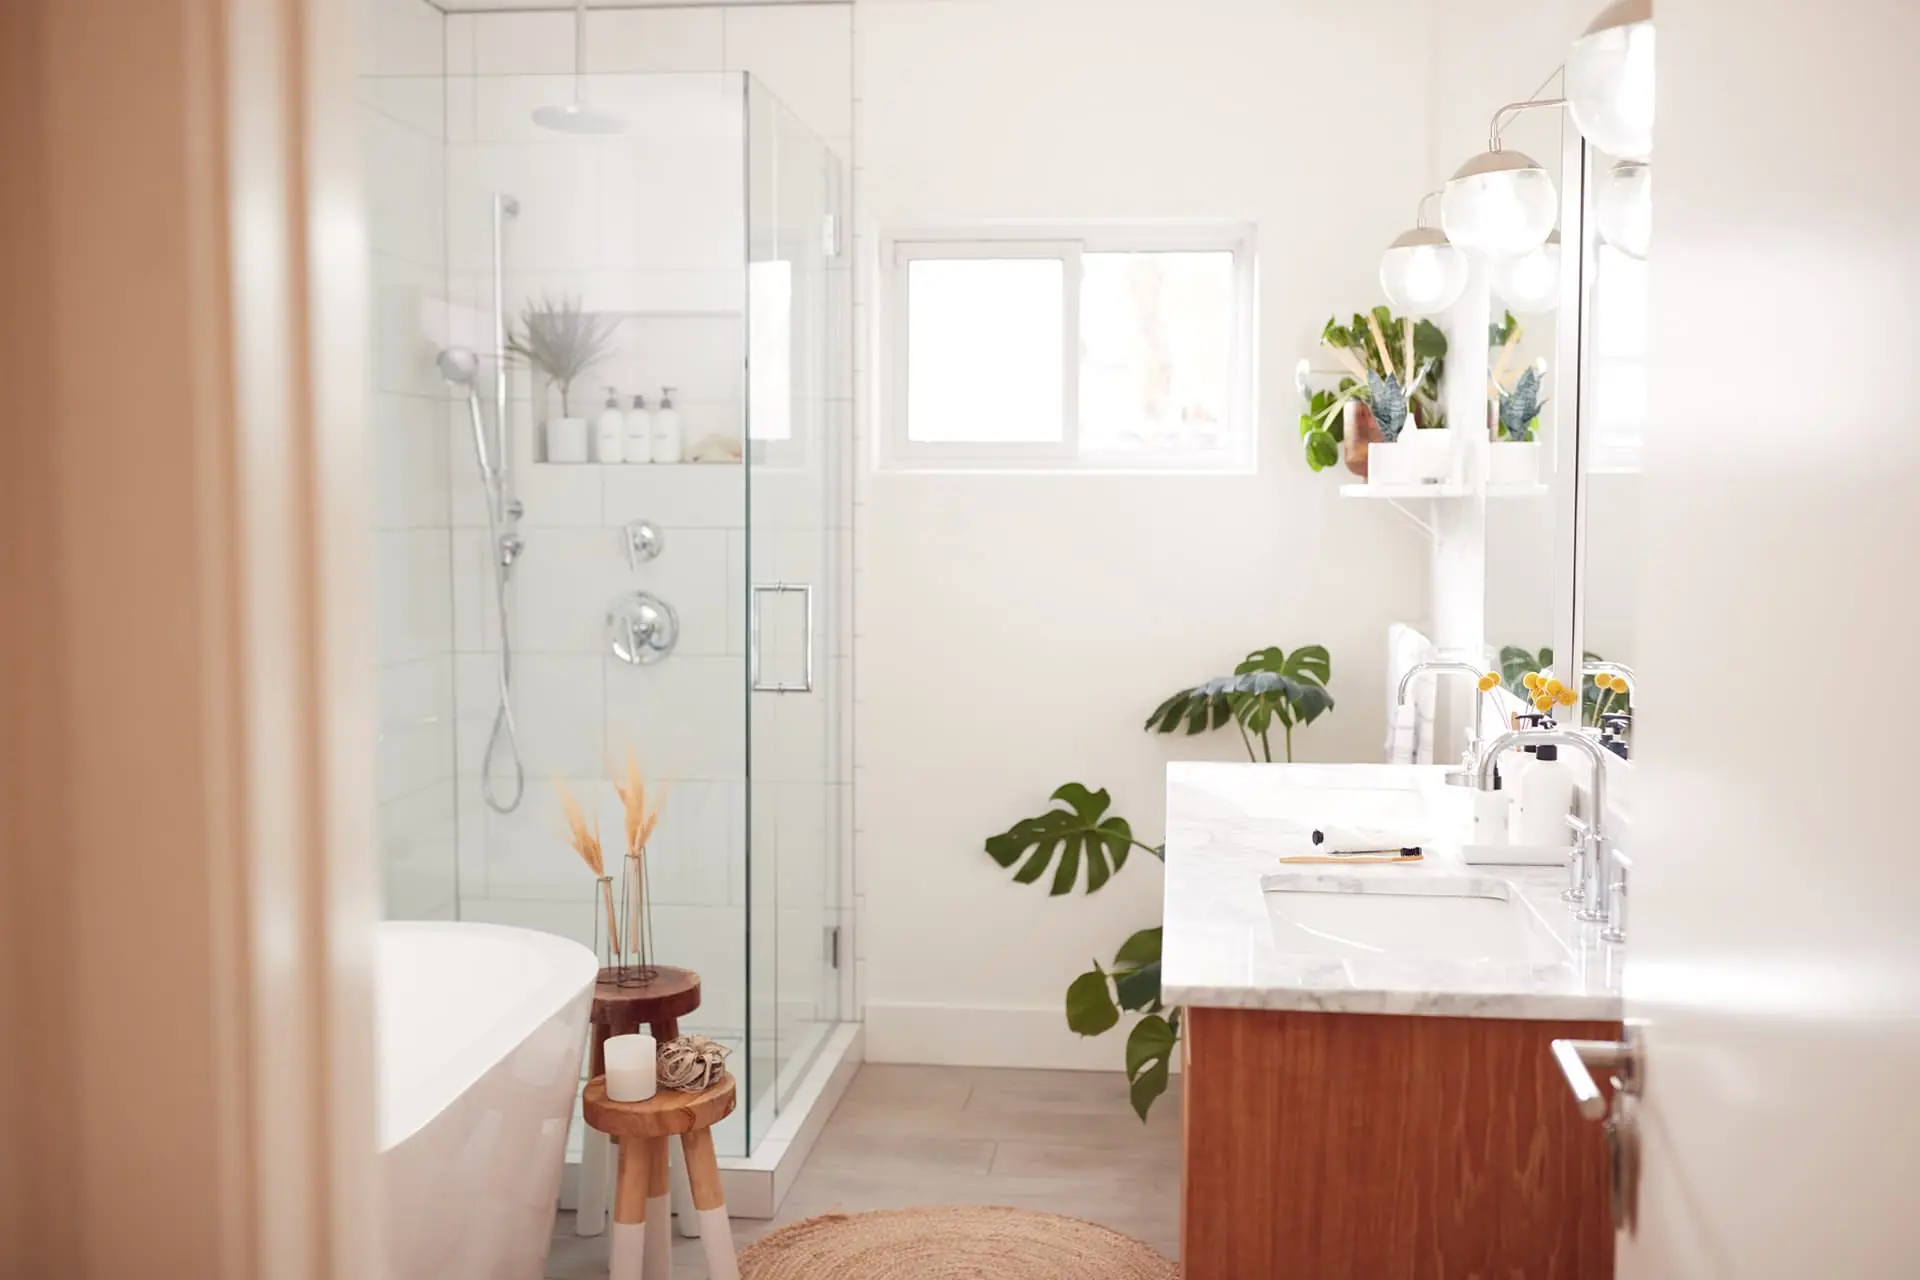
Comfort
A well-planned wet room feels open and effortless to move around in. The uninterrupted floor and simple lines help small bathrooms look bigger and calmer. Because you’re not constrained by a bulky shower tray or enclosure, you have more freedom to position the vanity, WC and storage in a way that suits how you actually use the room.

Easy daily care
In a wet room, water is meant to land on the floor and head straight for the drain. Day to day, maintenance comes down to a few simple habits: a quick pass with a squeegee after showers, a good extractor fan to clear steam, and—if you have it—underfloor heating to dry surfaces faster. Together, these keep the space fresh with minimal effort.

Helps with resale
When the technical detailing is done properly—continuous waterproofing, a neatly integrated linear drain and slip-resistant tiles—a wet room reads as a high-quality feature. Buyers tend to see it as modern, accessible and easy to look after, which can make your home more appealing on the resale market.

white bathroom in a dark gray bathroom interior

Disadvantages of Wet Rooms

Higher cost and complexity
A true wet room is more than “a shower without a tray”. Full-room waterproofing, precise floor gradients, higher-spec drainage and serious ventilation all add up. In practice, that can make a wet room roughly 20–50% more expensive than a standard tray shower, and it usually demands more experienced trades.

Less margin for error
Because the entire room becomes the wet zone, there is little room for mistakes. A pinhole in the membrane, a flat spot in the slope or an extractor fan that’s too weak can lead to standing water, damp patches or, in the worst case, leaks into the room below.

More steam and splash to control
Wet rooms naturally generate more steam and overspray. To keep the entrance, vanity and storage areas dry, you’ll typically need a good extractor with a humidity sensor and, in many layouts, a short fixed glass screen to contain the main shower zone.

Longer installation timelines
Forming accurate falls, water-testing membranes, allowing screeds and adhesives to cure, and cutting tiles precisely around drains all take time. Compared with a standard tray and enclosure, a wet room usually comes with a longer programme from first fix to final clean.

Extra considerations upstairs
On timber floors, joists often need stiffening and an acoustic layer so that footsteps and water noise aren’t heard clearly in the bedroom below. In some cases, insurers or building inspectors may also ask for leak detection or secondary containment where the wet room sits above a kitchen or electrical room.

Ongoing maintenance
Linear and point drains work well only if they’re kept clear. Hair and soap residue can quickly reduce flow and cause puddling if the trap isn’t cleaned regularly. This isn’t difficult, but it does need to become part of routine bathroom care.

Cold underfoot without underfloor heating
A large expanse of tile can feel cold, especially in winter. Without underfloor heating (UFH) or another heat source aimed at the floor, even a beautifully built wet room may feel less inviting than it looks.

Slip risk with the wrong finishes
Because the whole floor gets wet, the choice of finish is critical. Polished stone or low-grip tiles in the shower area are a genuine hazard. Wet rooms call for slip-resistant surfaces with a suitable rating (for example, R10 or R11) to balance safety with aesthetics.

Using & maintaining

How to use a wet room

Day to day, a wet room should feel simple and intuitive. Treat the whole space as a shower zone: keep toiletries in wall-mounted niches or baskets, avoid storing towels or wooden accessories too close to the main spray area, and make sure the shower head is angled toward the section with the steepest floor fall. If you’re showering with children or anyone less steady on their feet, a non-slip mat or integrated bench will make the space safer and more comfortable.

How to keep a wet room dry

A well-built wet room is designed to get wet – but it shouldn’t stay wet for long. A few small habits make a big difference:

  • After each shower, pull a squeegee over the floor and lower wall tiles. This stops water from sitting in grout lines and keeps limescale at bay.
  • Let the extractor fan run on a humidity sensor or timer. Don’t switch it off immediately; give it time to clear steam and reduce condensation.
  • Use underfloor heating where possible. Even at a low setting, warm floors speed up drying and feel more comfortable underfoot.
  • Check silicone and grout regularly. If you spot cracks, gaps or dark patches, re-seal early rather than waiting for moisture to creep behind the tiles.

These simple routines protect both the finishes you see and the waterproofing layers you don’t.

How to stop a wet room from flooding

Flooding in a wet room is almost always a design or maintenance issue, not “just how it is”. To keep water where it belongs:

  • Make sure the floor falls are correct. Water should naturally run toward the drain, not pool in the middle of the room or at the doorway.
  • Use a drain sized for the job. The flow rate of the trap and channel must match the output of your shower, especially for large rainfall heads or dual outlets.
  • Add a subtle secondary threshold at the door. A small upstand or drop in level between the wet area and the rest of the bathroom provides an extra line of defence.
  • Clean the trap regularly. Remove hair and soap build-up from the grate and filter so water can drain freely.

If these points are considered at the build stage and looked after in regular use, a wet room should drain quickly, stay dry underfoot – and never feel like it’s about to overflow.

FREQUENTLY ASKED QUESTIONS

A shower tray is usually cheaper, quicker to install and better at containing splashes, especially in busy family bathrooms. A wet room costs more and demands higher build quality, but in return you get barrier-free access, a cleaner look and a more premium feel to the whole space.

Yes — when they are properly designed, fully tanked and supported by strong ventilation. In that case they’re safe, practical and easy to live with; problems arise only when waterproofing, falls or extraction have been compromised.

Wet rooms do cost more upfront than a standard shower, because of the extra waterproofing, drainage and detailing involved. Done well, they don’t hurt resale value at all; in many markets they’re seen as a modern, high-spec feature. Done badly, with leaks or poor finishes, they can absolutely put buyers off.

Most spaces can be converted, but not all should. The structure must be sound, the floor must be able to take correct falls to a drain, and there has to be a clear route for drainage and ventilation. In some cases, a level-access tray is a safer compromise.

Only with specialist coatings that are explicitly rated for permanently wet or immersed zones — and even then, they tend to be more of an industrial solution. For homes, slip-resistant tiles or wet-room vinyl are usually more durable and predictable.

If you mean an art installation like a “rain room”, yes — getting wet is the point. In a domestic wet room, the aim is the opposite: when the falls, drainage and extraction are correct, water stays in the shower zone and the rest of the room stays comfortably usable.

At Groysman, we get all the required permits and navigate the claim filing process.

Home restoration after the fires starts with Groysman Construction! Call us

FREE ESTIMATE

OUR SERVICES

All About Wet Rooms: a smart, compact guide | Groysman Construction Remodeling | 1

KITCHEN REMODELING

Your Kitchen is a place that highlights all of your home – it is the place where

All About Wet Rooms: a smart, compact guide | Groysman Construction Remodeling | 2

BATHROOM REMODEL

Your every day starts from the bathroom; it should be your fresh, comfortable

All About Wet Rooms: a smart, compact guide | Groysman Construction Remodeling | 3

FLOORING

New flooring, even in one separate room can absolutely change the appearance of

All About Wet Rooms: a smart, compact guide | Groysman Construction Remodeling | 4

ROOM ADDITIONS

With decades of experience under the belt, Groysman Construction

ADU in California

ADU

With the rising cost of housing and the growing need for versatile living spaces

Tell Us About Your San Diego Remodeling Project

    Leave a Comment