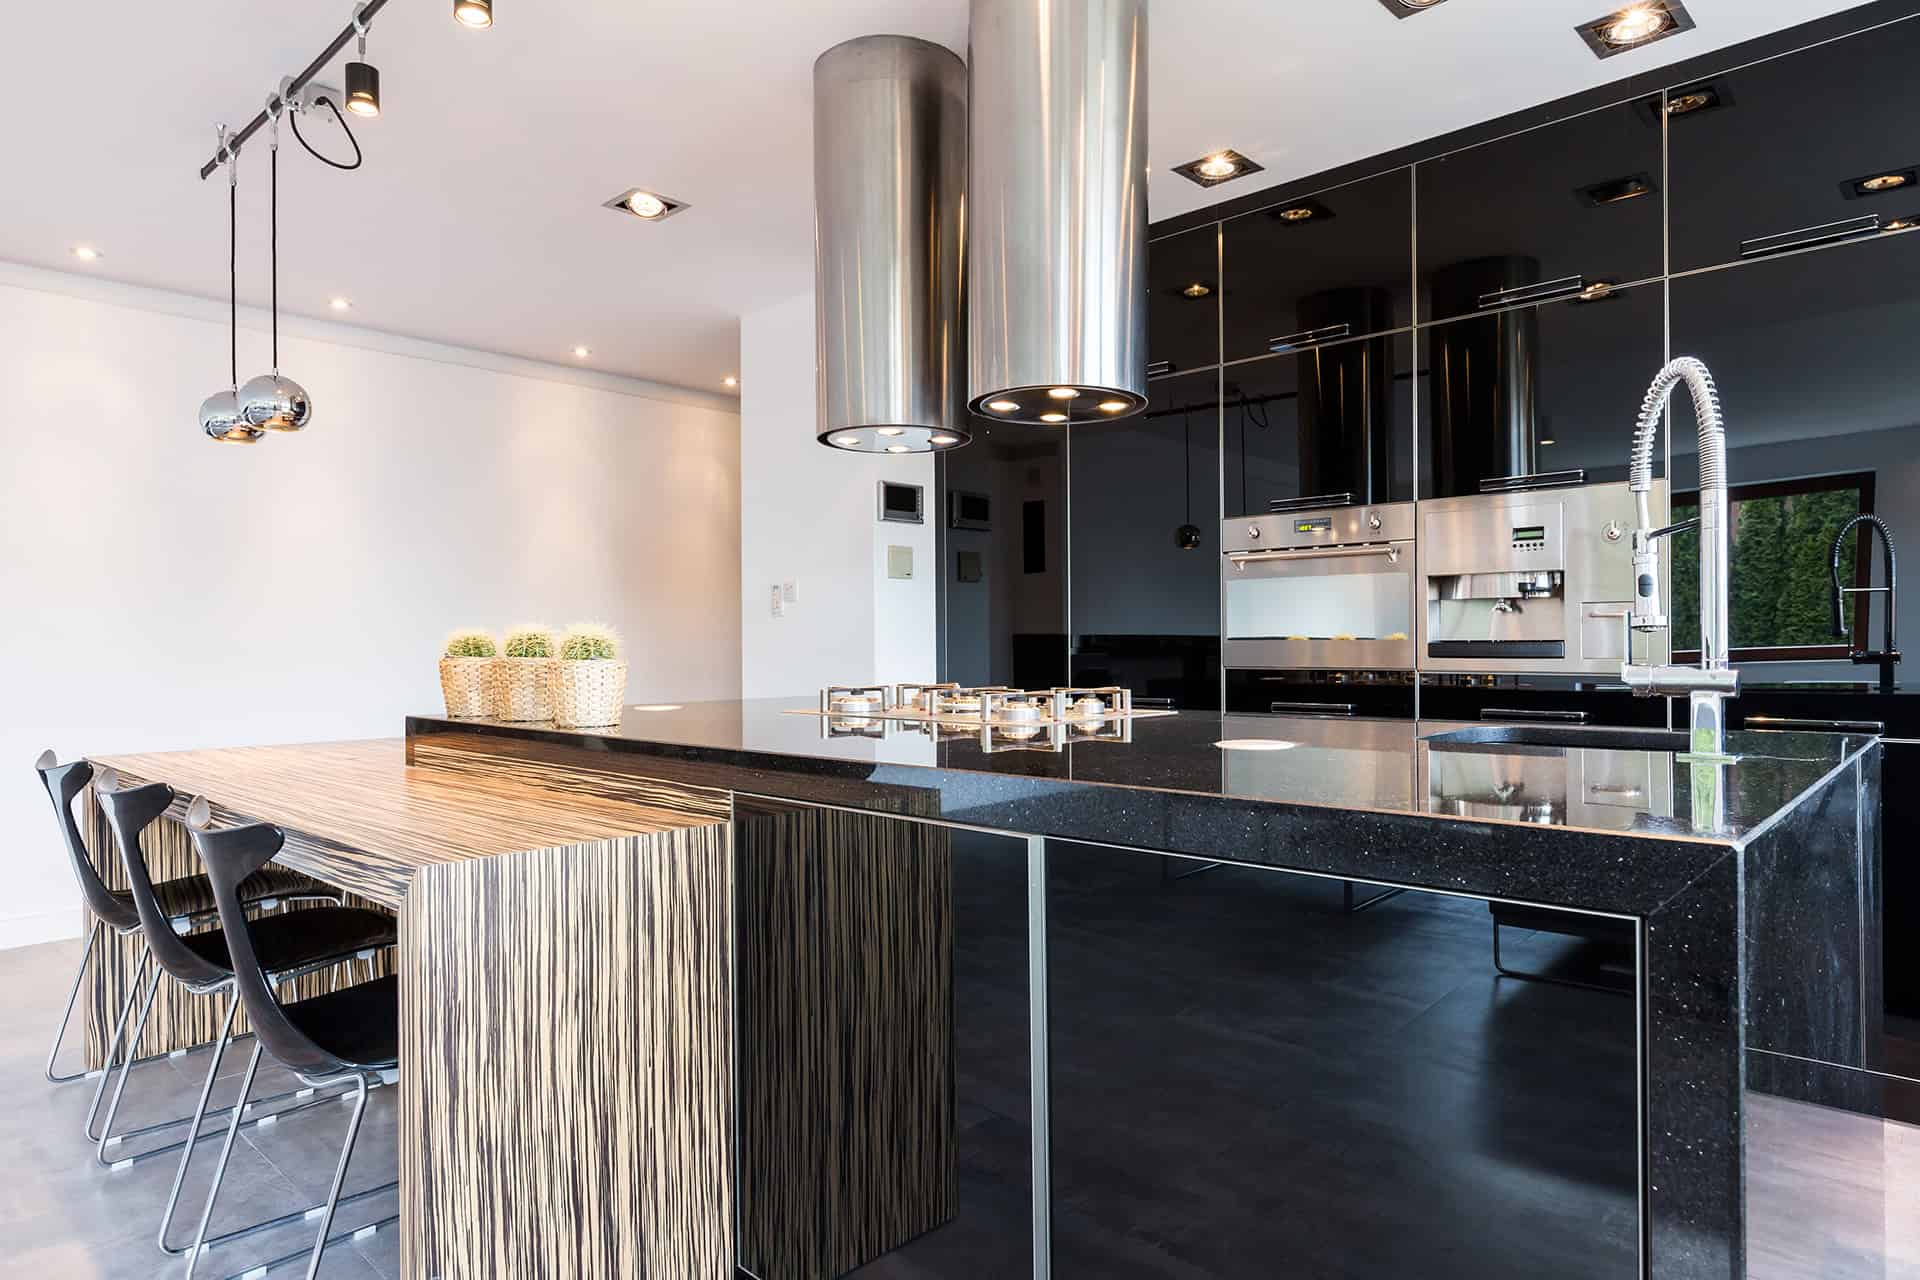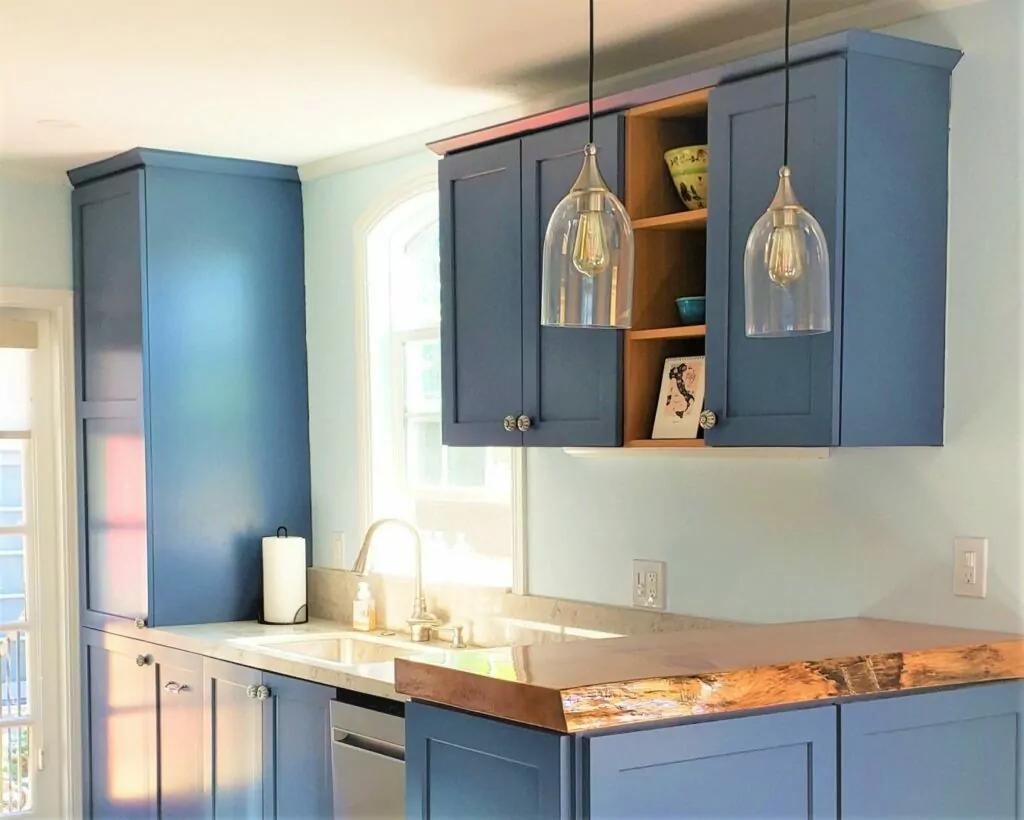
Bored with your current cabinetry but do not dare (or cannot afford) to have a full-fledged kitchen remodel in San Diego? The easiest and most cost-effective method to refresh your kitchen’s style is painting kitchen cabinets.
CHOOSING THE OPTIMAL PAINT
When it comes to giving your San Diego kitchen surfaces a new coat, the first question to pop in the mind is “what kind of paint to use on kitchen cabinets?” Choosing the right paint for your cabinetry is half the battle because kitchen cabinets are not made equal, but they are darn versatile.
Your kitchen leads a very active lifestyle, hence, painting and finishing materials must be of top-quality and resistant to continuous vapor, moisture, condensation, and temperature extremes. At the same time, your kitchen is a facility where you keep foodstuff and cook meals, which means finishes here must fully correspond to the safety and hygiene standards.
When you scour the selection of paints for your kitchen cabinets in San Diego, you should pay attention to the composition, water resistance, the coverage rate, drying velocity, toxicity, and, of course, the desired color.
There is no clear answer to “What kind of paint to use on kitchen cabinets?” because every paint has its advantages and disadvantages. Let’s speak about the most popular paints for kitchen cabinets in San Diego.
- Oily paints are resistant to damp and vapor, effectively tolerate temperature changes, and protect the surface from corrosion and mold. However, such paints have a viscous structure, which means they are difficult to apply and tend to develop streaks, pimples, and light spots during the application. Also, oily paints take longer to dry up and emit very unpleasant odor all the while. At the same time, oil paints can be applied to virtually any material including wood, metal, and plastic.
- Acrylic paints are eco-friendly and safe solutions for cabinetry refinement. However, acrylic paints will gradually fade with every cleaning, which will eventually end up with a necessity to repaint your cabinets.
- Alkyd enamels boast an excellent covering power. They are also safe, quick to dry up, and indelible. Such paint will withstand the test of constant steam, condensate, soot, and temperature shifts. However, a rookie DIYer will have lots of troubles if applying alkyd enamel with a brush or a paddle roller as this finish is a fairly tough paint. If you are going to cover kitchen cabinets with such enamel, opt for aerosol sprays – they allow for achieving the even coating without much sweat.
CHOOSING THE COLOR TO PAINT KITCHEN CABINETS
Modern paints for kitchen cabinets run the gamut of dyes and overtones, and it is not a big deal if you cannot find the one to please your exquisite preferences – you can just mix the colors to get a coveted hint but make sure the resulting coloration harmonizes with an overall style and enhances your kitchen’s visual performance.
The most popular option with San Diego owners is neutral paints, which include all shades of beige, brown, gray, and white. These colors are ideal for making dramatic contrasts and emphasizing the owner’s peculiar taste.
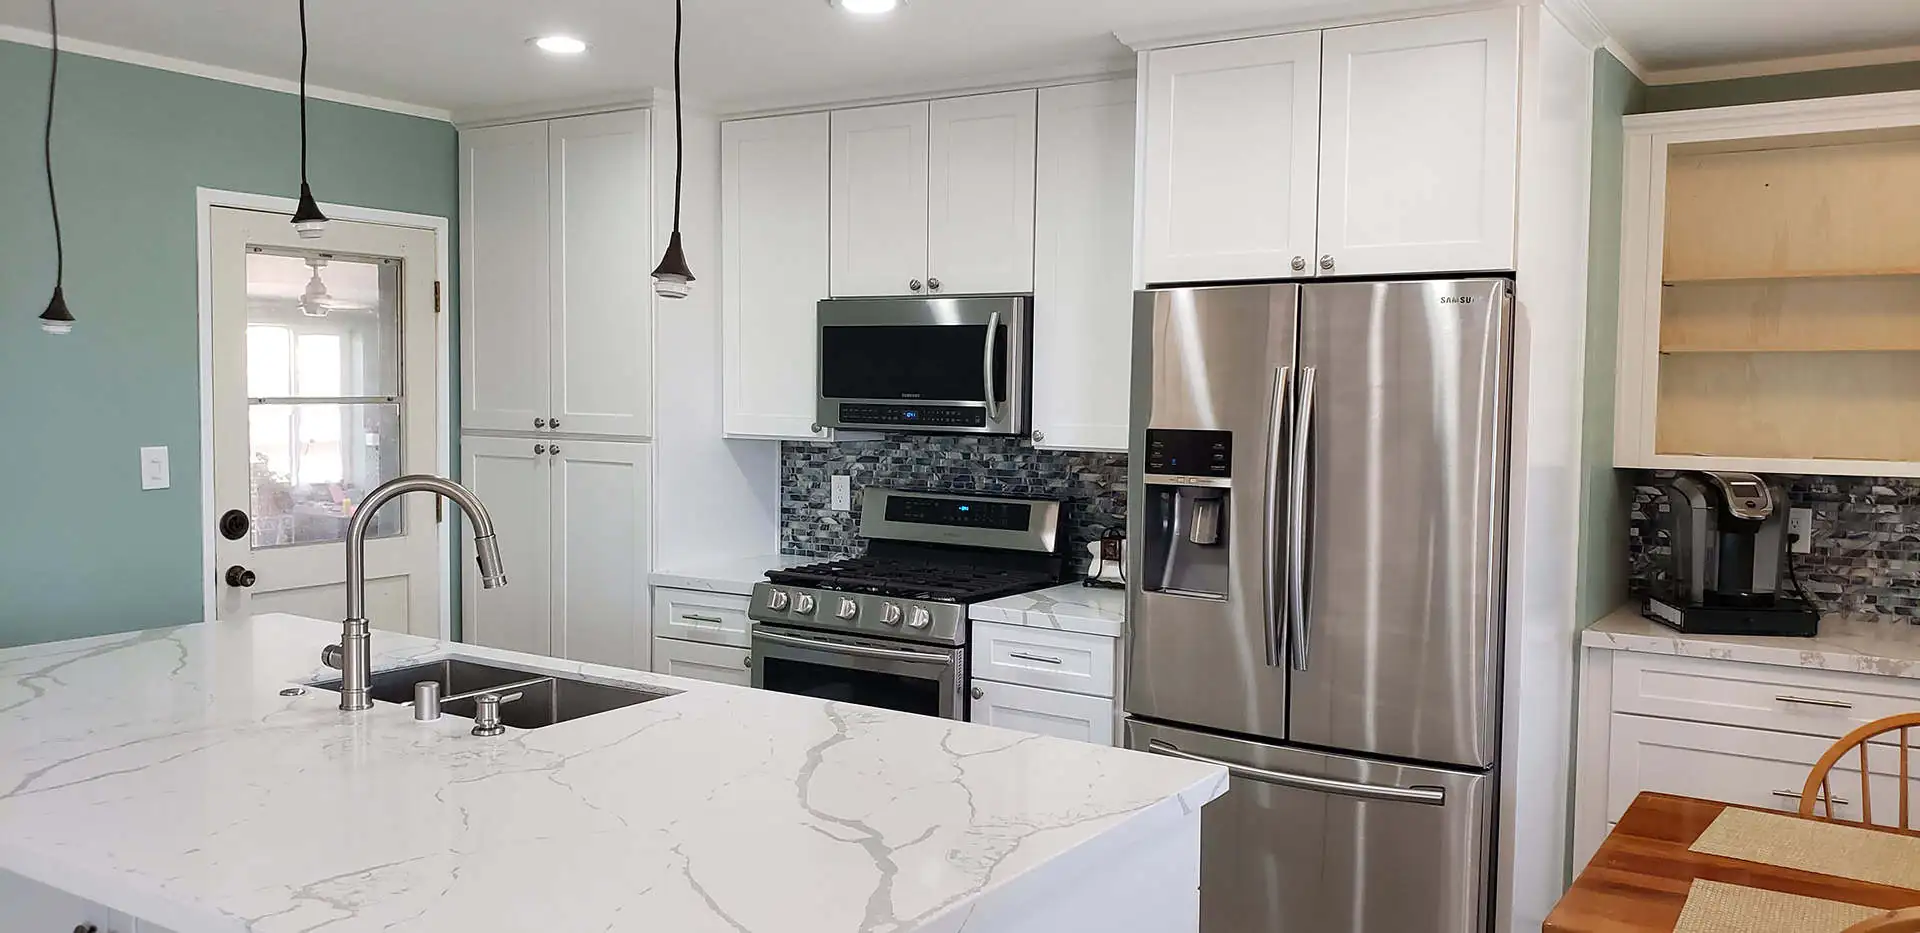
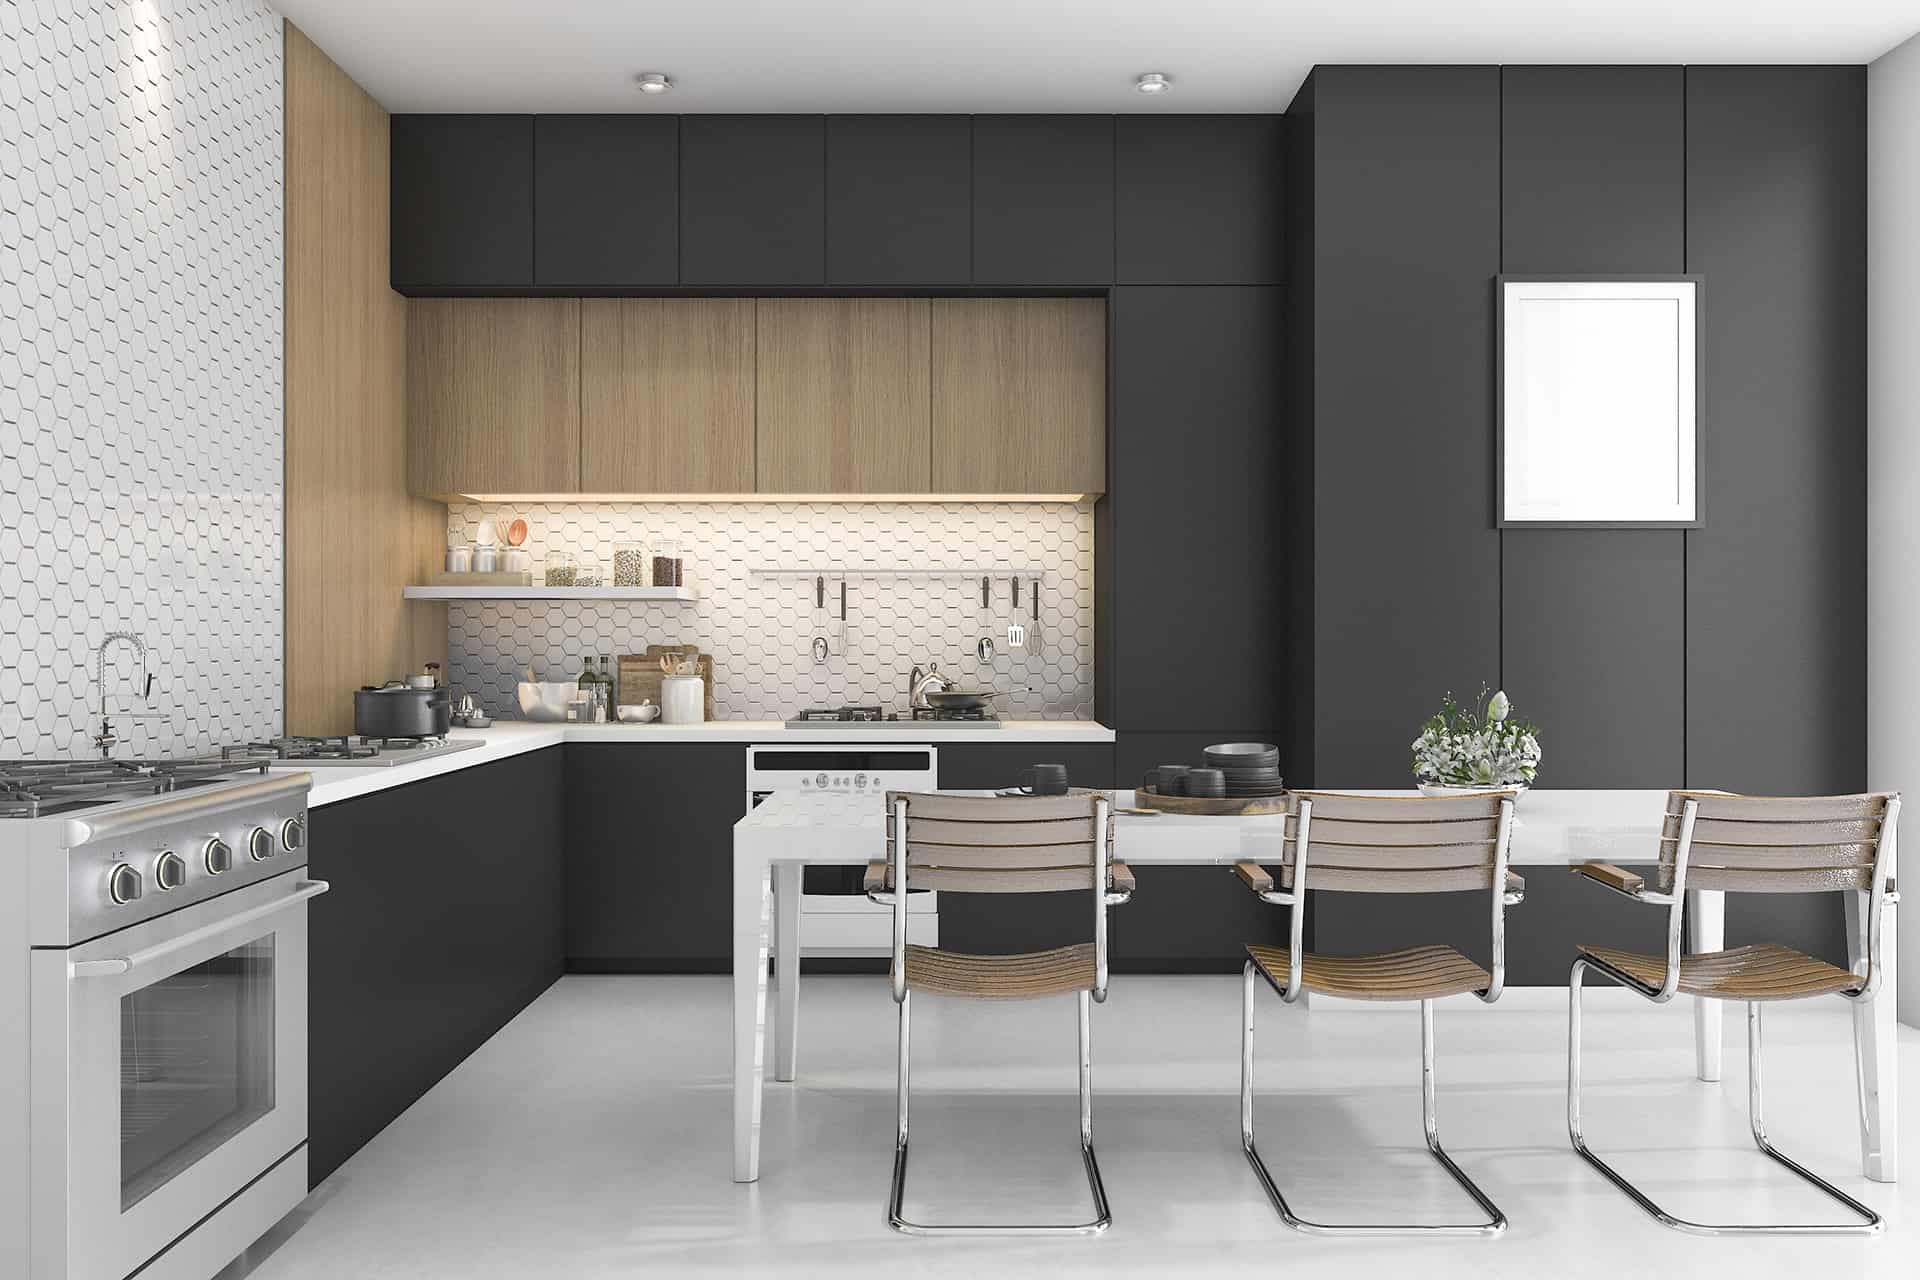
The most common and effective color contrast is when upper cabinets are painted in light colors while lower – in darker. This combination works more for classic interiors. Remember that mixing only dark or only light dyes is not a good idea; otherwise, the cabinets will blur together and lose all their charms.
Do not be shy of adding bright splashes to your kitchen cabinets in San Diego. So, black elements can be combined with red, light green, mint, pink or beige; white – with blue, lilac, or golden; beige hues go well with red, while lilac is in its best when coupled with coffee or yellow colors.
But do not rely exclusively on your fantasy when choosing the color palette for your kitchen – the result may turn out ridiculous – ask a professional kitchen painter to elaborate a winning color scheme for your old cabinetry that will correspond both to the kitchen design and your fancy taste.
HOW TO PREP KITCHEN CABINETS FOR PAINTING
When you have set your mind about the coloration of your cabinets, you may proceed with preparing the furniture for the execution. Whatever material the cabinets are made of, they are always covered with some kind of finishing layer. The first step to take in preparing your kitchen cabinets for painting is removing an old coat of finish. But this job is very difficult to do, perhaps, the hardest in the whole project. The technique of removing the finish layer depends on the type of material the cabinet is made of:
- Timber cabinetry is generally coated with wood varnishes or paints. Though they get absorbed quite deeply, removing the coating from wood cabinets is not so painstaking – a coarse abrasive sponge, sandpaper or a sanding machine will effectively remove the upper layer.
- If wooden or MDF cabinets are covered with veneer, then to remove the upper layer, you will need to apply the special solution on the cabinet surface to dissolve the glue and make the veneer soften. Once the top layer is softened, you can remove it with a harsh metallic brush or a sanding machine. After that, the cleaned surface is treated with sandpaper.
- If cabinets are covered with PVC or melamine film, you can remove it by using a hot air gun. After the film is removed, the boards are processed with sandpaper.
- If kitchen cabinets are covered with acrylic plates, you’d better give up on an idea to repaint them because it is practically impossible to separate the acrylic glass from the main board at home.
- Wood chipboard cabinets require more gentle methods of removing the upper coat. The material is not as dense as MDF, so the use of a grinding machine is not reasonable. Solvents and sandpaper are generally used in such cases.
Can you paint kitchen cabinets without sanding them? Surely, and for this, you will need to process cabinets’ surfaces with liquid sandpaper or deglosser to remove the finish and then saturate them with priming coat.
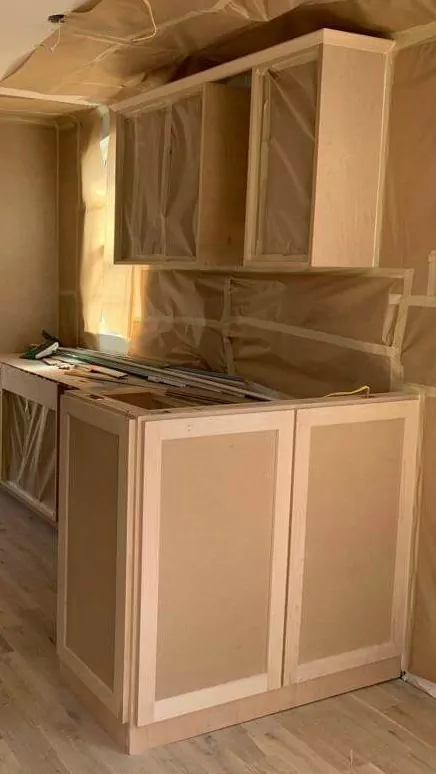
The painting process starts with putting cabinets off the wall, disassembling them as well as removing all the fixtures and accessories like mirrors or glass elements. Then it is necessary to dispose of the old finish from every board.
- Sanding is an integral part of preparing kitchen cabinets for painting. This treatment will help to make the surface even, yet quite rough. This roughness is needed to ensure good adhesion of the paint to the cabinet surface. MDF and wooden boards are processed with a sanding machine while chipboards are generally treated manually with sandpaper or a scrubbing brush.
- After sanding, cabinet boards are cleaned of dust and degreased using acetone or other spirit-based solutions.
- Cleavages, scratches, and other hollows are caulked with some filler paste.
- Cabinet boards are then treated with a primer suitable for the chosen type of paint. Such as timber and MDF boards are processed with wood primer while plastic and metallic – with special primer for metal and plastic. You may have a logical question like “Do I have to prime kitchen cabinets before painting?” Yes, it is a must-have procedure if you want the outcome to delight but not disappoint you. Why does it matter? When coloring wood cabinets, the paint immediately forms a film and hardens on a surface, and it does not get deep into the wood. The primer penetrates deep inside and dries up quickly, which allows the paint to adhere firmly to the surface and makes flaking impossible.
- After priming, the cabinet boards are left to dry up for 24 hours.
HOW TO PAINT CABINETS?
You can paint kitchen cabinets with a brush, paddle roller or aerosol paint. The last option provides for rapid and even coverage, but get ready that a significant amount of aerosol paint will be sprayed out in vain. Painting with a brush or roller requires great accuracy, patience, and certain operating skills.
The process of painting cannot be done in a living room or kitchen due to safety and comfort concerns. You can paint kitchen cabinets in a garage, a workroom or just in a backyard of your San Diego home if the weather forecast is favorable in coming days.
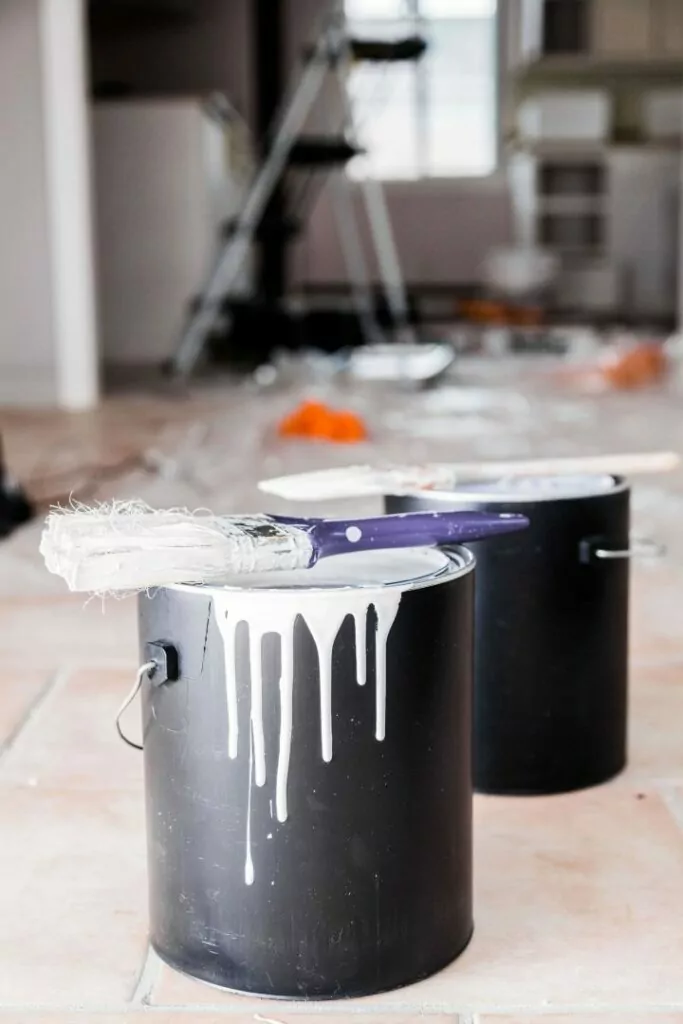
A brush or a roller is dipped into a tray with paint, and then the surface is coated with accurate and gliding movements strictly in the same direction. For a bright and lasting result, it is advisable to apply 2 or 3 coats of paint but only after the first layer has dried up well.
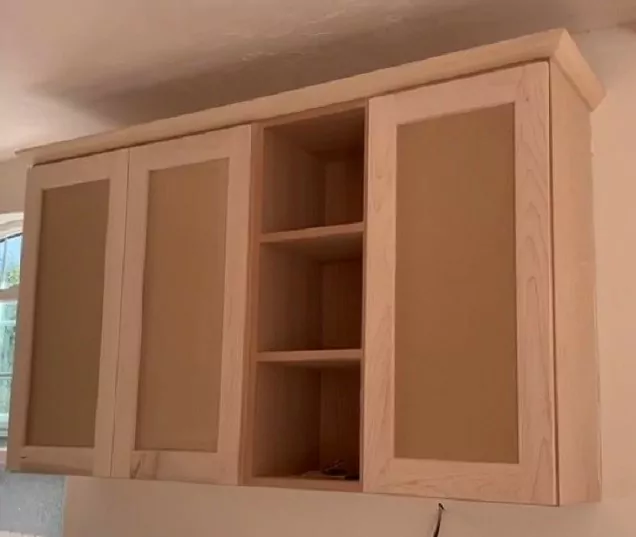
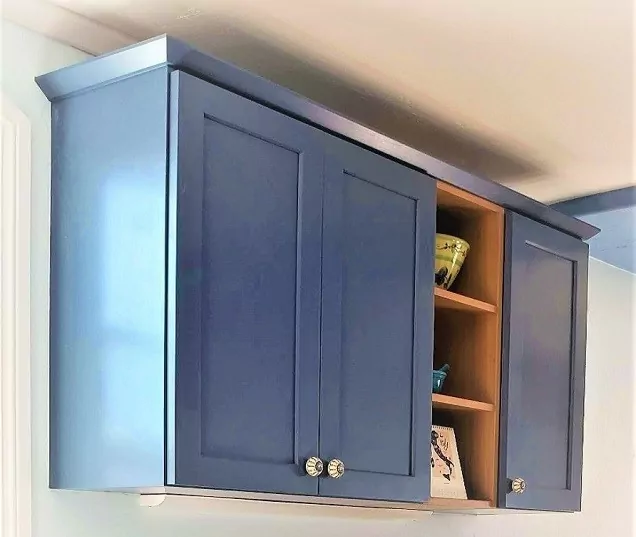
If you want to combine colors while painting kitchen cabinets, just cover the sections which must be painted differently with sticky tape and paint the uncovered sections. Once the paint has dried up, the sticky type is removed, and the unpainted parts are covered with paint of a different color.
If you use spray paint, do not forget to shake it well before applying, then spray the paint onto the surface with sweeping movements from a distance of 20-30 cm. The second layer can only be sprayed when the previous has dried up.The paint layer takes, at least, 30 minutes to stabilize. Once the painting is finished, kitchen cabinets are left for 24 hours to exsiccate completely.
Painting kitchen cabinets is not as easy as it seems: it involves correct decision-making, consumes much time and physical efforts, and requires maximum carefulness and consistency in execution. If you cannot boast impressive DIY skills, you’d better leave painting kitchen cabinetry to expert remodelers in San Diego who not only will repaint your old cabinets quickly and professionally but also save you from notorious disassembly, assembly, and clean-up travails.
Wondering, how much does it cost to have kitchen cabinets painted? There is no exact answer to this question because lots of factors can affect the ultimate price of the project.
If your San Diego kitchen cabinets are in bad condition, you will have to sand, patch, and prime them before repainting, which will add up to the total cost of this initiative. Now consider how much time and physical labor you would be spending on painting rather than doing something more profitable or pleasurable, so the cost soars even higher.
The project of painting cabinets is multi-task: you will have to buy high-quality paints, primer, and a ton of related miscellany. Then you will have to disassemble the cabinets and take the parts to the special premise where they will be painted and left for drying up. After that, they will have to be assembled back and taken to the kitchen again, with all imaginable chaos in between. Plus, a thorough cleanup when this extravaganza is over – they all make DIY kitchen cabinets painting extremely costly.
If you want the job to be done greatly and within your time and budget limits, it is smarter to hire a professional contractor to paint your kitchen cabinets in San Diego. Well-trained cabinet painters have a wealth of knowledge and technical skills to produce the result that is the utmost in quality.

